MindManager Web
When opening a map for Co-Editing, you can open it in the desktop app or MindManager Web. You must sign in with a valid licensed account to open the file in MindManager Web. You can also start a map from scratch in MindManager Web, continue working on it in a desktop app, invite other licensed users to join a Co-Editing session, and more.
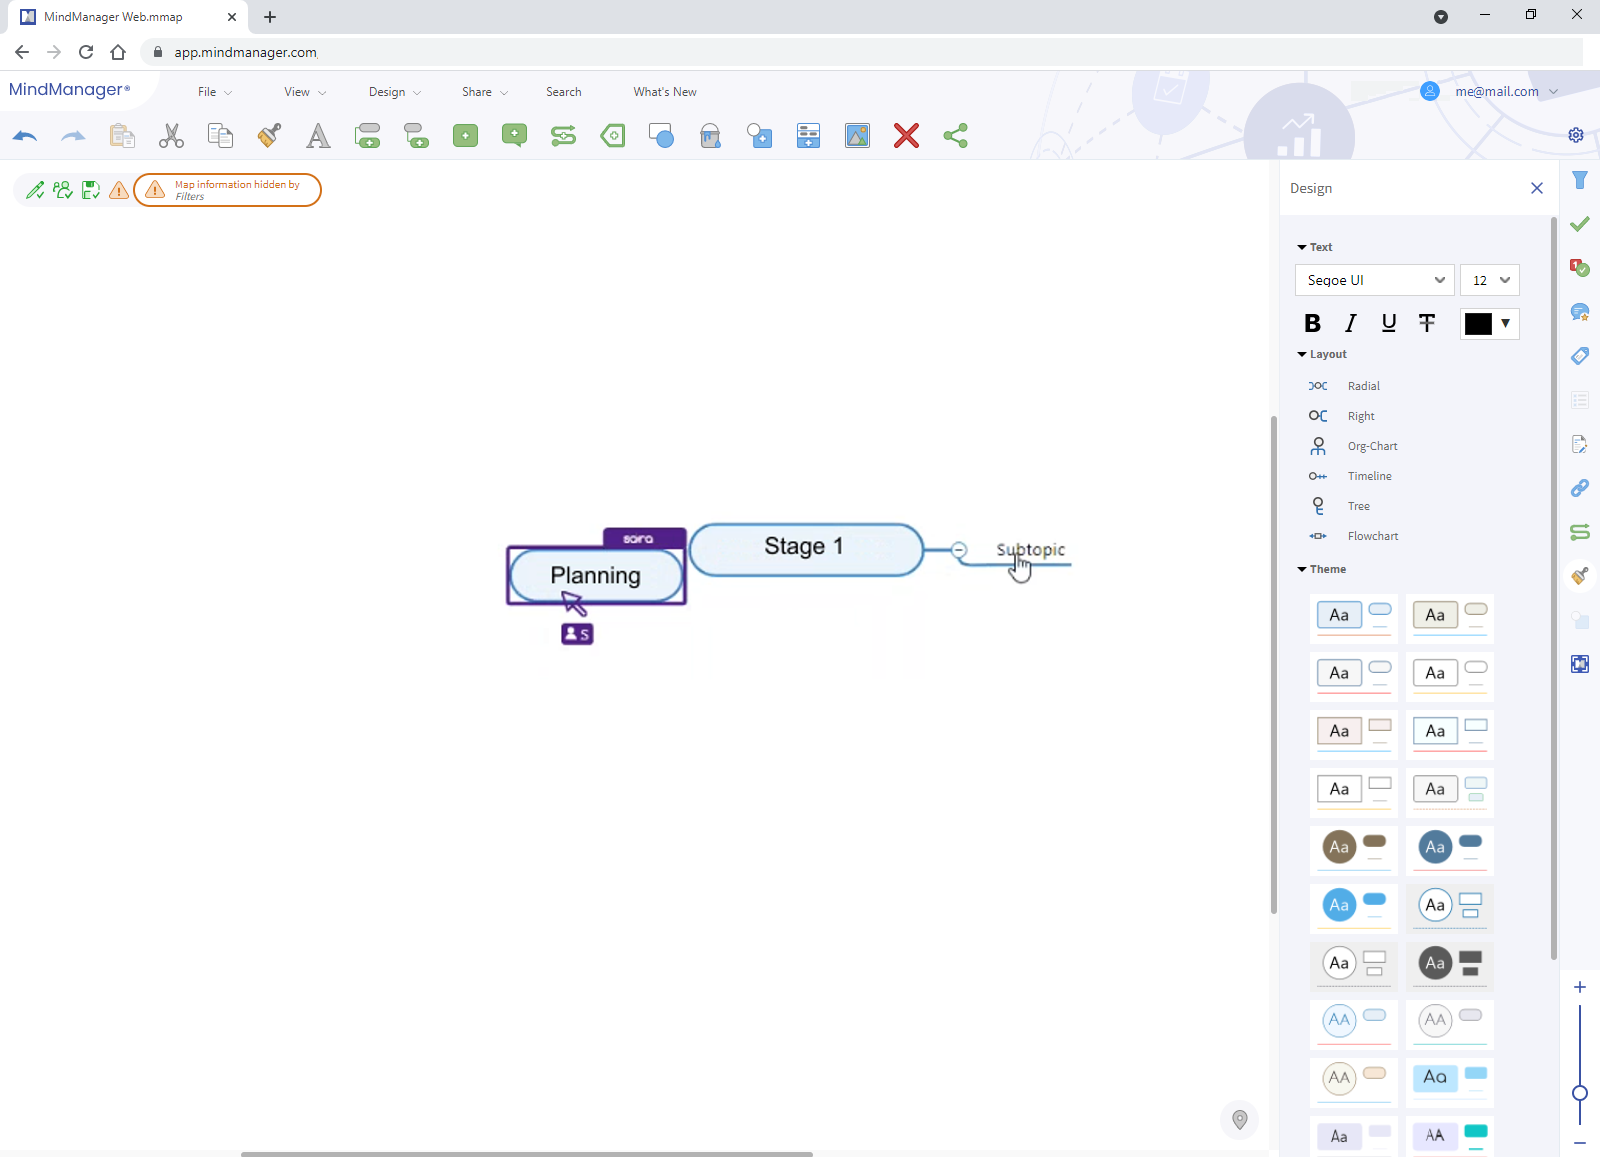
When you select an element in a map, buttons corresponding to what is editable are highlighted on the right side of the window: Filter ![]() , Task Information
, Task Information ![]() , Icons
, Icons ![]() , Comments
, Comments ![]() , Tags
, Tags ![]() , Properties
, Properties ![]() , Notes
, Notes ![]() , Attachments & Links
, Attachments & Links ![]() , Related Topics
, Related Topics ![]() , Design
, Design ![]() , Format Shape
, Format Shape ![]() , MindManager Snap
, MindManager Snap ![]() . Clicking any of these buttons opens a pane with controls for working with the corresponding map element.
. Clicking any of these buttons opens a pane with controls for working with the corresponding map element.
You can also modify a map in MindManager Web using the Tool Panel, which contains tools for adding boundaries ![]() , relationships
, relationships ![]() and callouts
and callouts ![]() ; inserting topics
; inserting topics ![]() , subtopics
, subtopics ![]() and floating topics
and floating topics ![]() ; inserting shapes
; inserting shapes ![]() , Smart Shapes
, Smart Shapes ![]() , images
, images ![]() and fill color
and fill color ![]() ; copying, cutting, pasting, deleting map elements; as well as inviting people to a Co-Editing session, downloading the map, and publishing the map online.
; copying, cutting, pasting, deleting map elements; as well as inviting people to a Co-Editing session, downloading the map, and publishing the map online.
Co-Editing sessions automatically end after a period of inactivity. Before a session is ended due to inactivity, a warning appears that allows you to keep the session active.
Overview of the MindManager Web window
The MindManager Web window offers the following editing, navigation, and viewing controls:
|
• View offers commands for changing the viewing mode as well as changing magnification levels (Zoom In or Zoom Out), collapsing (Collapse All) and expanding (Expand All) topics; centering map on topic, expanding selected branch, and collapsing all other branches (Focus); adjusting the size of the map in its current display to the dimensions of the window (Fit).
|
|
|
A group of icons in the mapping window that displays relevant information about the status of the file that you’re working on. For more information, see Work with the system status overlay.
|
|
You can choose where to display the Tool Panel and Menu bar by clicking the Tool Panel Settings button ![]() , and choosing a location option.
, and choosing a location option.
To create a map in MindManager Web
To open an existing map in MindManager Web
To save changes in MindManager Web
To print a map in MindManager Web
To download a map from MindManager Web
To open a map from MindManager Web in the desktop app
To invite another user to co-edit
To filter topic in MindManager Web
When a filter is used during a Co-Editing session, only the co-editor who applied it sees the filtered version of the file.